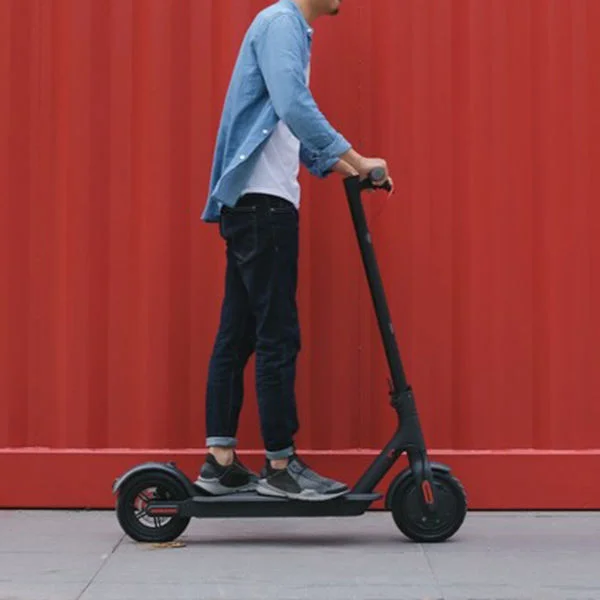
Apparently it’s called micro-transportation - 3/5
Setup, maintenance and repair
Setup
I was fortunate to know two people with the M365 already, who kindly gave me some tips on how to set the scooter up to get the most from it and avoid common issues.
Tyres
I got the European model of the M365 which came with 2 spare tyre/inner tube combos in addition the the tyre/tubes fitted to the scooter, which were inflated but a little low for my weight :)
It turned out not to matter, as the recommendation I was given before riding was:
Buy a hand pump, I went for this one
Deflate the tyres fully.
Use Tyre Slime to add a puncture protecting sealant to the inside of the inner tube.
Re-inflate the tyres to full pressure as per the guide included. In my case this was 60PSI to handle my ~100Kg weight, which is around the max the scooter is designed to convey.
As an alternative to this, another friend recommended just ditching the Tyre/Tubes for solid rubber tyres. They had experienced regular punctures and opted for solid tyres to minimise maintenance. On the downside, you lose the only hint of suspension the scooter has so it can mean a rougher ride.
I opted to stick with tyres and tubes and have been fortunate that in the year or so of almost daily use I’ve made of my scooter, have only had one puncture.
Even then the tyre slime stopped a complete deflation and gave me ample time to get home despite a pretty big piece of glass that went right through the tyre and the inner tube.

Tyre slime !
I check my tyre pressures every other day, unless I’m not using the scooter on the checking day. That has been enough for piece of mind.
Vibration
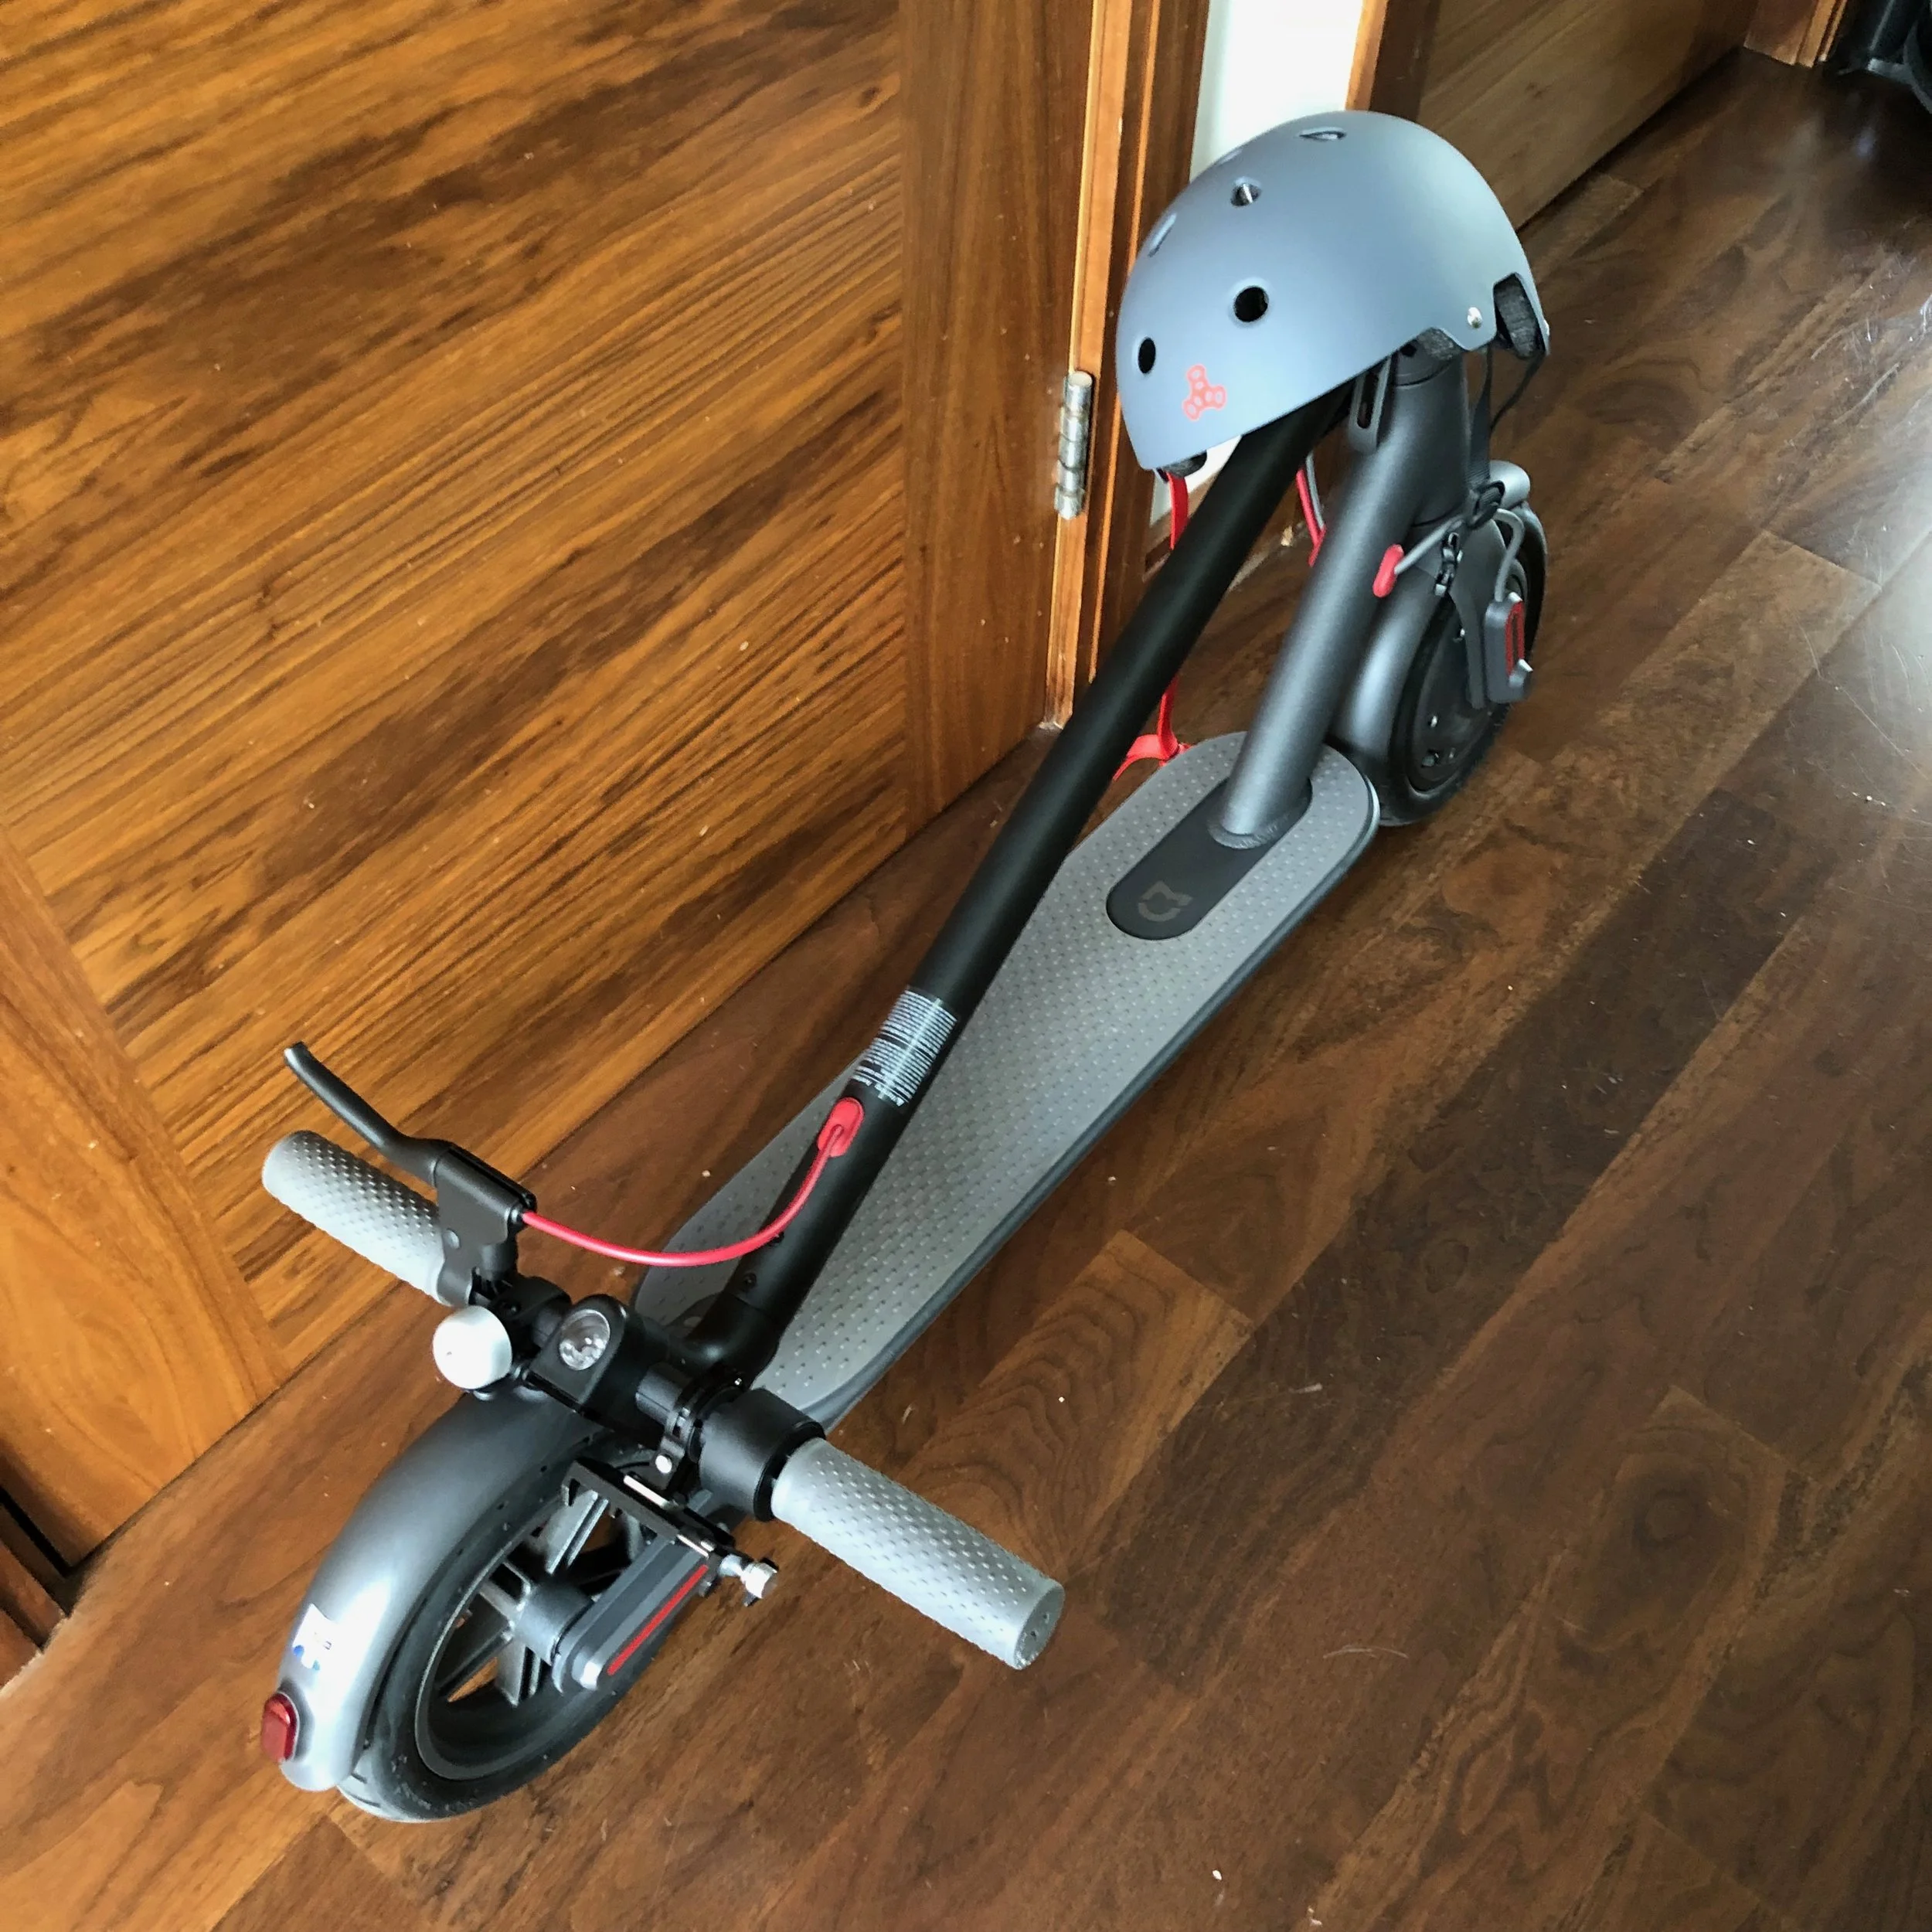
The other action I was told to take before riding a lot is about vibration through the hinging of the handlebar assembly. To fold the scooter down, you release a handle at the bottom of the yoke and it hinges down so the bell on the handlebar meets the rear mudguard, and the bell lever acts as a latch on a lug on the top of the mudguard.
When you raise the yoke and fasten the release handle back in place, it holds the yoke upright using an adjustable assembly. However much you adjust this there’s always some degree of vibration, particularly if you’re riding on the terrible road surfaces of east London with any regularity.

Anti-vibration space fitted to the joint of the yoke.
The fix is to add a small spacer into the joint to fill any gap and absorb a good proportion of the vibration. These are plentiful on Amazon or you can 3D print your own if you’re already in the future.
Maintenance
While the setup ideas above are applicable to anyone with a new M365, the maintenance will vary based on your own experience and usage. This means the following is subjective to my experience, but it seems to be not uncommon.
Tyres
As I mentioned before, I’ve had just one with a puncture so far, in comparison with friends who’ve had more.
I noticed that my scooter felt a little sluggish one day. I had checked the tyre pressures that morning and they been fine but the rear felt a little soft. When I checked again, that night, I noticed it was down to about 40 PSI and that there was some bright green sludge around one part of the tyre surface. Closer inspection also revealed an occasional tiny bubble being produced amongst the tyre slime and a big shard of glass in the tyre.

Tyre slime emerging from a puncture, sufficient to get me home with decent tyre pressure.
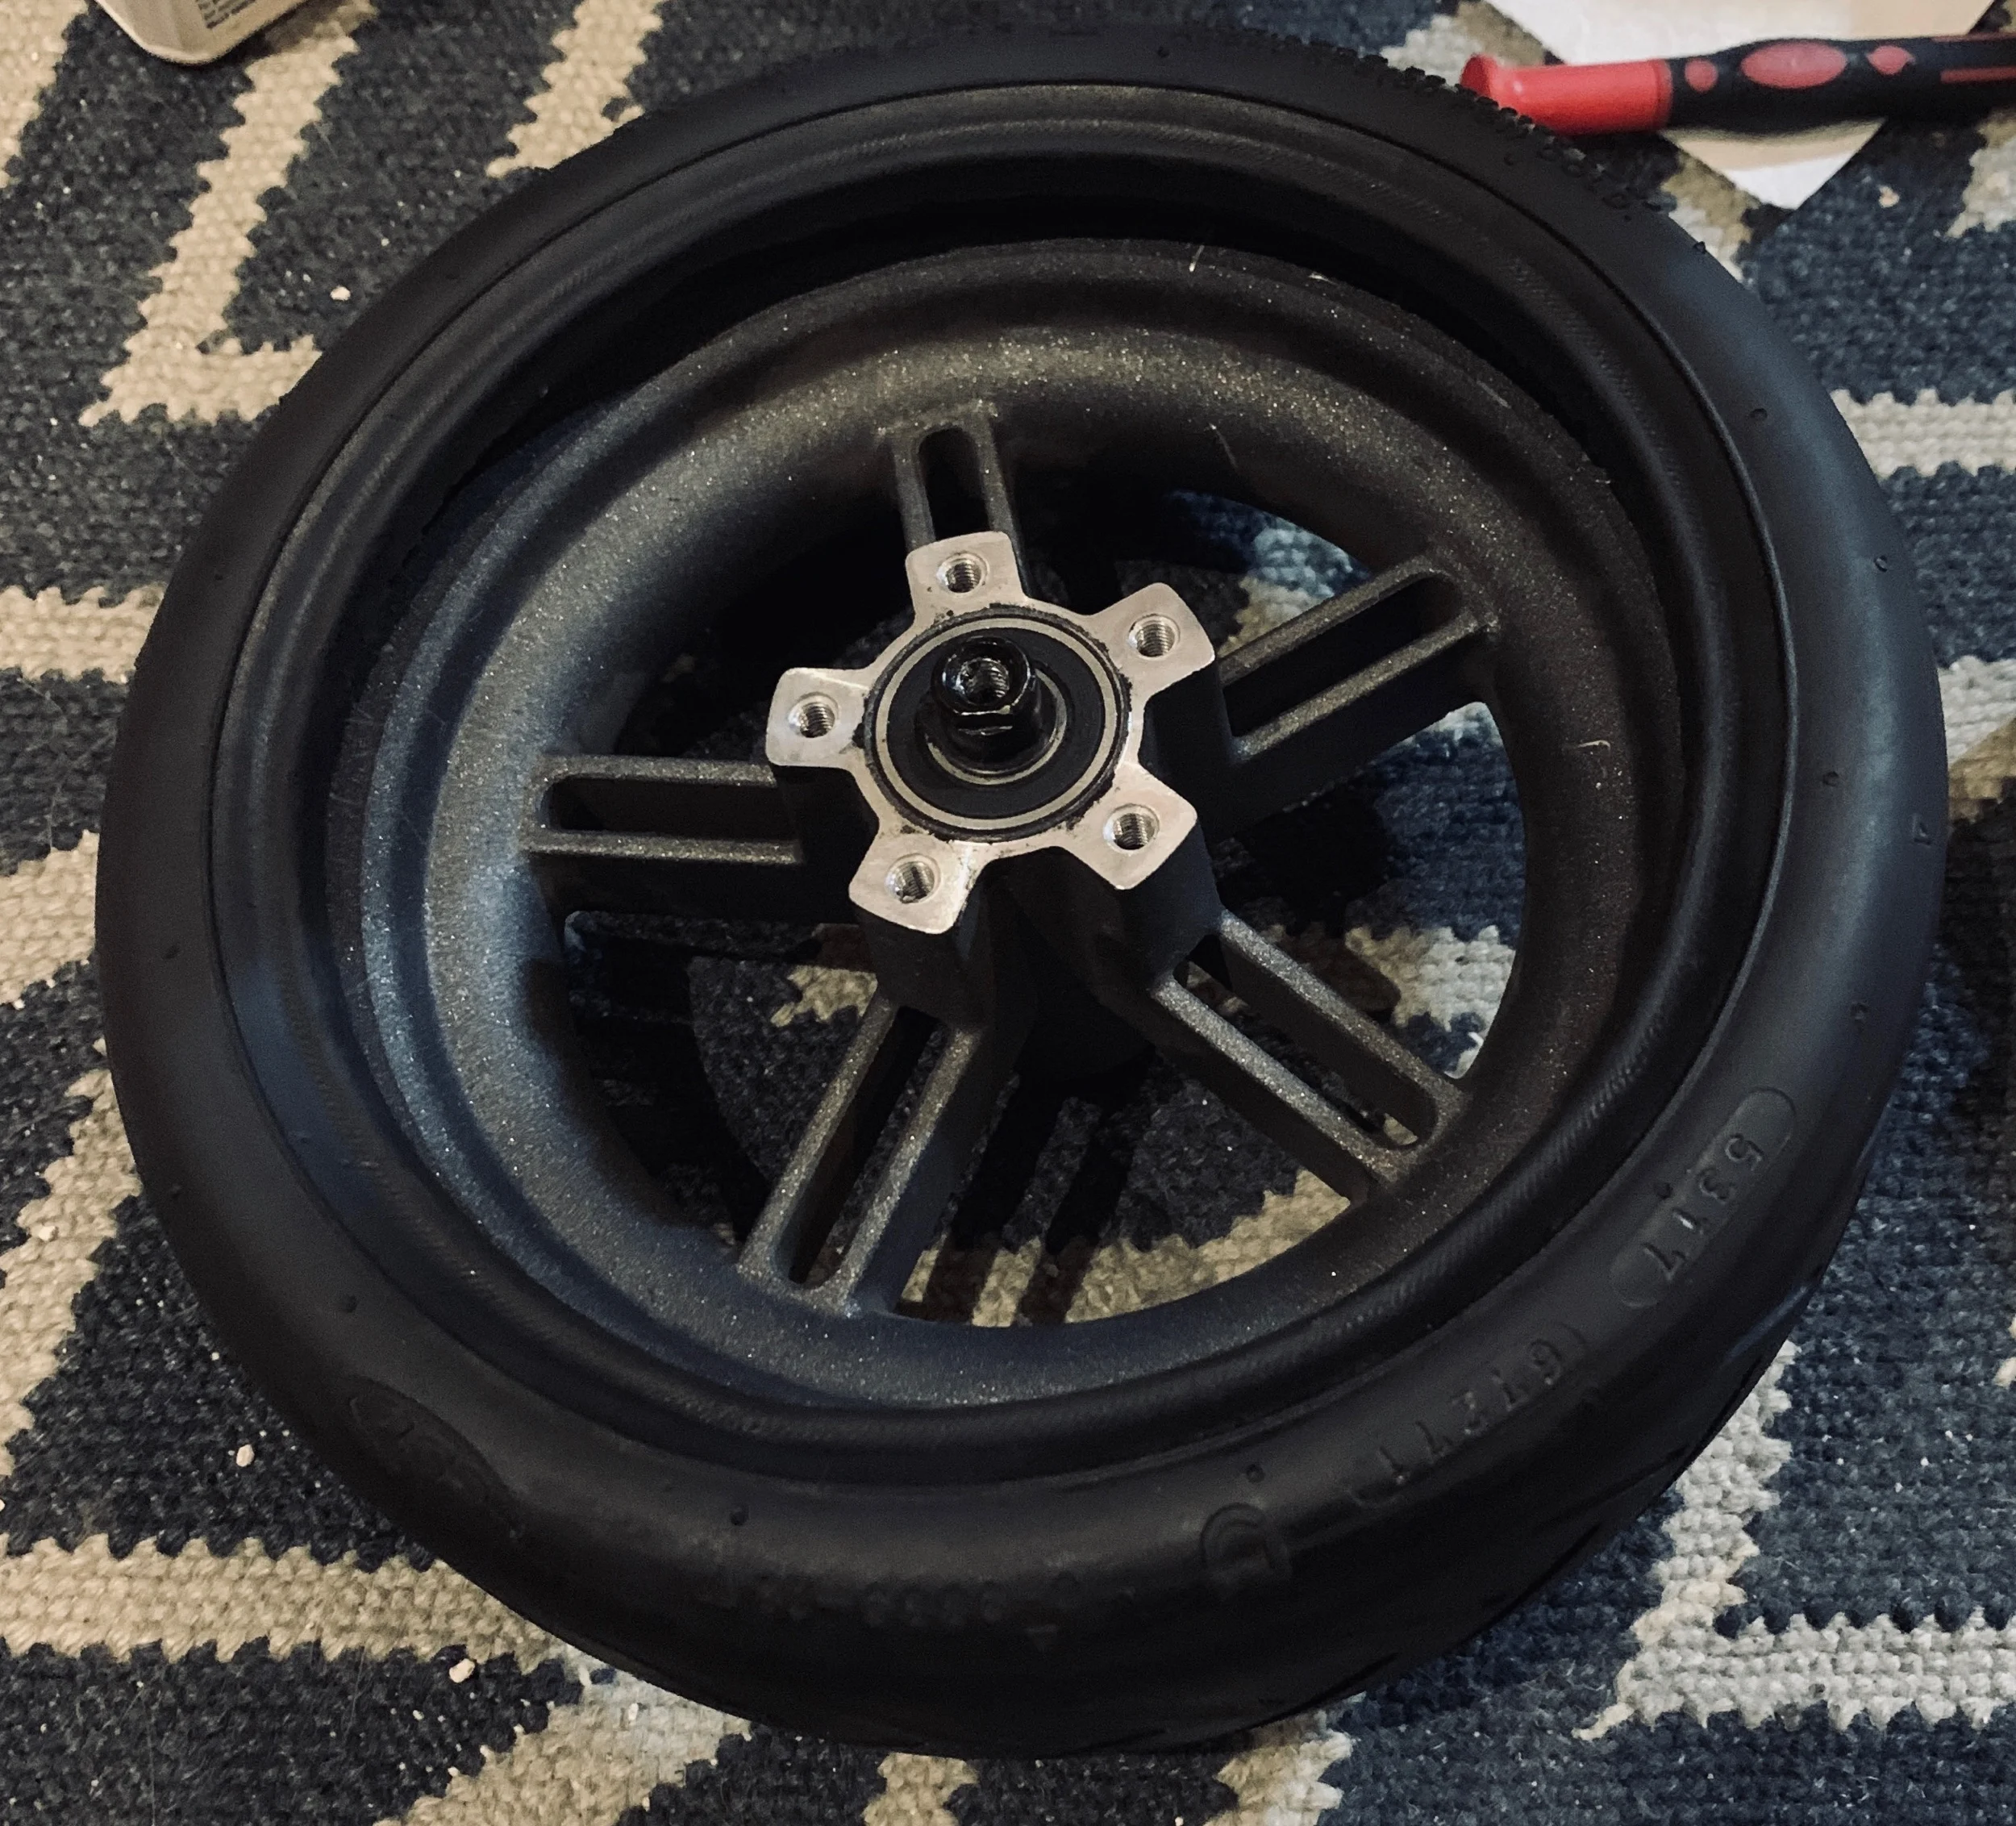
Removing the rear wheel and replacing the tyre is not most fun in the world. Like many things it starts easy and the difficulty ramps upwards. Here’s link to a fuller description of how to do it, but the basic steps are:
Carefully remove the red reflective strips over plastic casings over the wheel nuts.
Unscrew and remove the plastic casings.
Unscrew and remove the wheel.
OPTIONAL - unscrew and remove the brake disk.
Deflate the tyre fully,
Use tyre irons or plastic tools to prize the tyre off the rim.
Put the new inner tube inside the new (or old if you’re just re-using) tyre.
From opposite side to the brake disk side, get one edge of the tyre over the rim, paying attention to the direction of travel of the tyre and the brake disk needing to match up. This is even more important if you removed the brake disk prevent damaging it later.
Remove the valve cap, line up the valve with the hole in the rim and pass it through, reattaching the valve cap to hold it in place.
Use 3-in-1 oil, WD-40 or similar to lubricate the rim of the wheel inside the tyre and the as-yet-unseated tyre rim.
Exert a lot of effort and time and frustration getting the tyre over the wheel rim.
There is another option... do the above up to step 3 and then take the whole thing to a reputable bicycle maintenance store and have them do it. They’ll have things you likely don’t have: appropriate tools, patience and experience.

Rear wheel halfway through the replacement process - at this point I went to calm down somewhat.
Brakes
There’s two activities you may need to do around brakes. Firstly there’s adjustment of the brakes, secondly there’s replacement of brake pads.
Adjustment
For adjustment there’s a ‘major’ and a minor adjustment. The major adjustment involves loosening a small screw on the back of the brake cylinder with an 2 mm allen key and then adjusting the static brake pad with an 5 mm allen key. Some videos will tell you to remove either the wheel or the brake assembly to adjust it as it can be fiddly. I found that doing either of these means refitting every time you want to test the adjustment which is very tedious, it’s no big hassle to leave it all in place and it makes testing far quicker.
The minor adjustment is on the point where the cable from the brake lever attaches to the mechanism, there’s a locking nut and threaded piece where you an make small adjustments to the sensitivity of the brakes.
The important thing to avoid when adjusting brakes is having either the moving or static brake pads brush against the brake disk at any point of the wheels rotation. There’s a lot of moving parts that can effect this adjustment: the position of the whole brake mechanism, the position the pads within it, the adjustment of the wheel, whether the brake disk is slightly warped (spoiler alert: it is).
Pad replacement
For the pads replacement you again have the choice between removing the brake assembly or the wheel, but you need to do one or the other. I’d suggest the wheel as getting the brake assembly repositioned accurately is more fuss.
The pads themselves are magnetically attached. The static one needs the threaded cylinder it sits in removed. Otherwise they’re pretty simple to remove, just use a slim flathead screwdriver to prise them away.
Here’s another video to help.
Repair
I’ve had one instance of needing to repair the scooter, outside of the more regular maintenance above. It was actually three issues that all manifested in one area; the rear mudguard.
First, the rear light stopped functioning. There were two potential causes, the cable feeding to the rear light had been severed about 3 cm from where it emerges from the bottom plate and the cable had been worn through to the core near where the cable meets the light, probably because of contact with the tyre.
I put off working on this by using clip-on rear lights, until it all got academic when I knocked the rear mudguard against a door post and broke it off. This revealed another issue, that there is a connector in line of the cable that allows you remove the mudguard with out removing the cable from inside it, and this connector and the mount for it had also broken. The severed cable end had come away right at the point it meets the connector making fixing it with an in-line splice very difficult.

Light cable as it emerges from the electronics bay, below this is the cable connector, heavily covered in dirt and dust.

Cable wear inside the mudguard.
The impact to the mudguard broke the connector and it’s mounting. It also broke the plastic on the mounting point of the mudguard. Now there’s a bunch of ways I could have chosen to fix all this but the solution I went with was to buy a replacement mudguard from Amazon, and replace a length of the cable by soldering it and covered the repair with electrical tape. The cable wear hadn’t damaged the core so I put electrical tape around it and secured it.
The mudguard attaches to the scooter main body with three large screw which are protected by rubber inserts. The new part came complete with new screws, plugs and latch piece.
That left a problem with the cable as it emerges from the electronics bay rubbing against the tyre. The threaded holes for the screws that mounted the connector before where still there so I use a length of plastic, clipped from a cable tie, and screwed it in place to hold the cable away.
This is really a temporary solution until I find a replacement inline connector and then I’ll replace the whole cable from inside the electrical bay right to the light.

Cable repair covered in tape and secured away from the tire by a plastic guard strip.

Working!