Apparently it’s called micro-transportation - 4/5
Cycle routes in London suck.
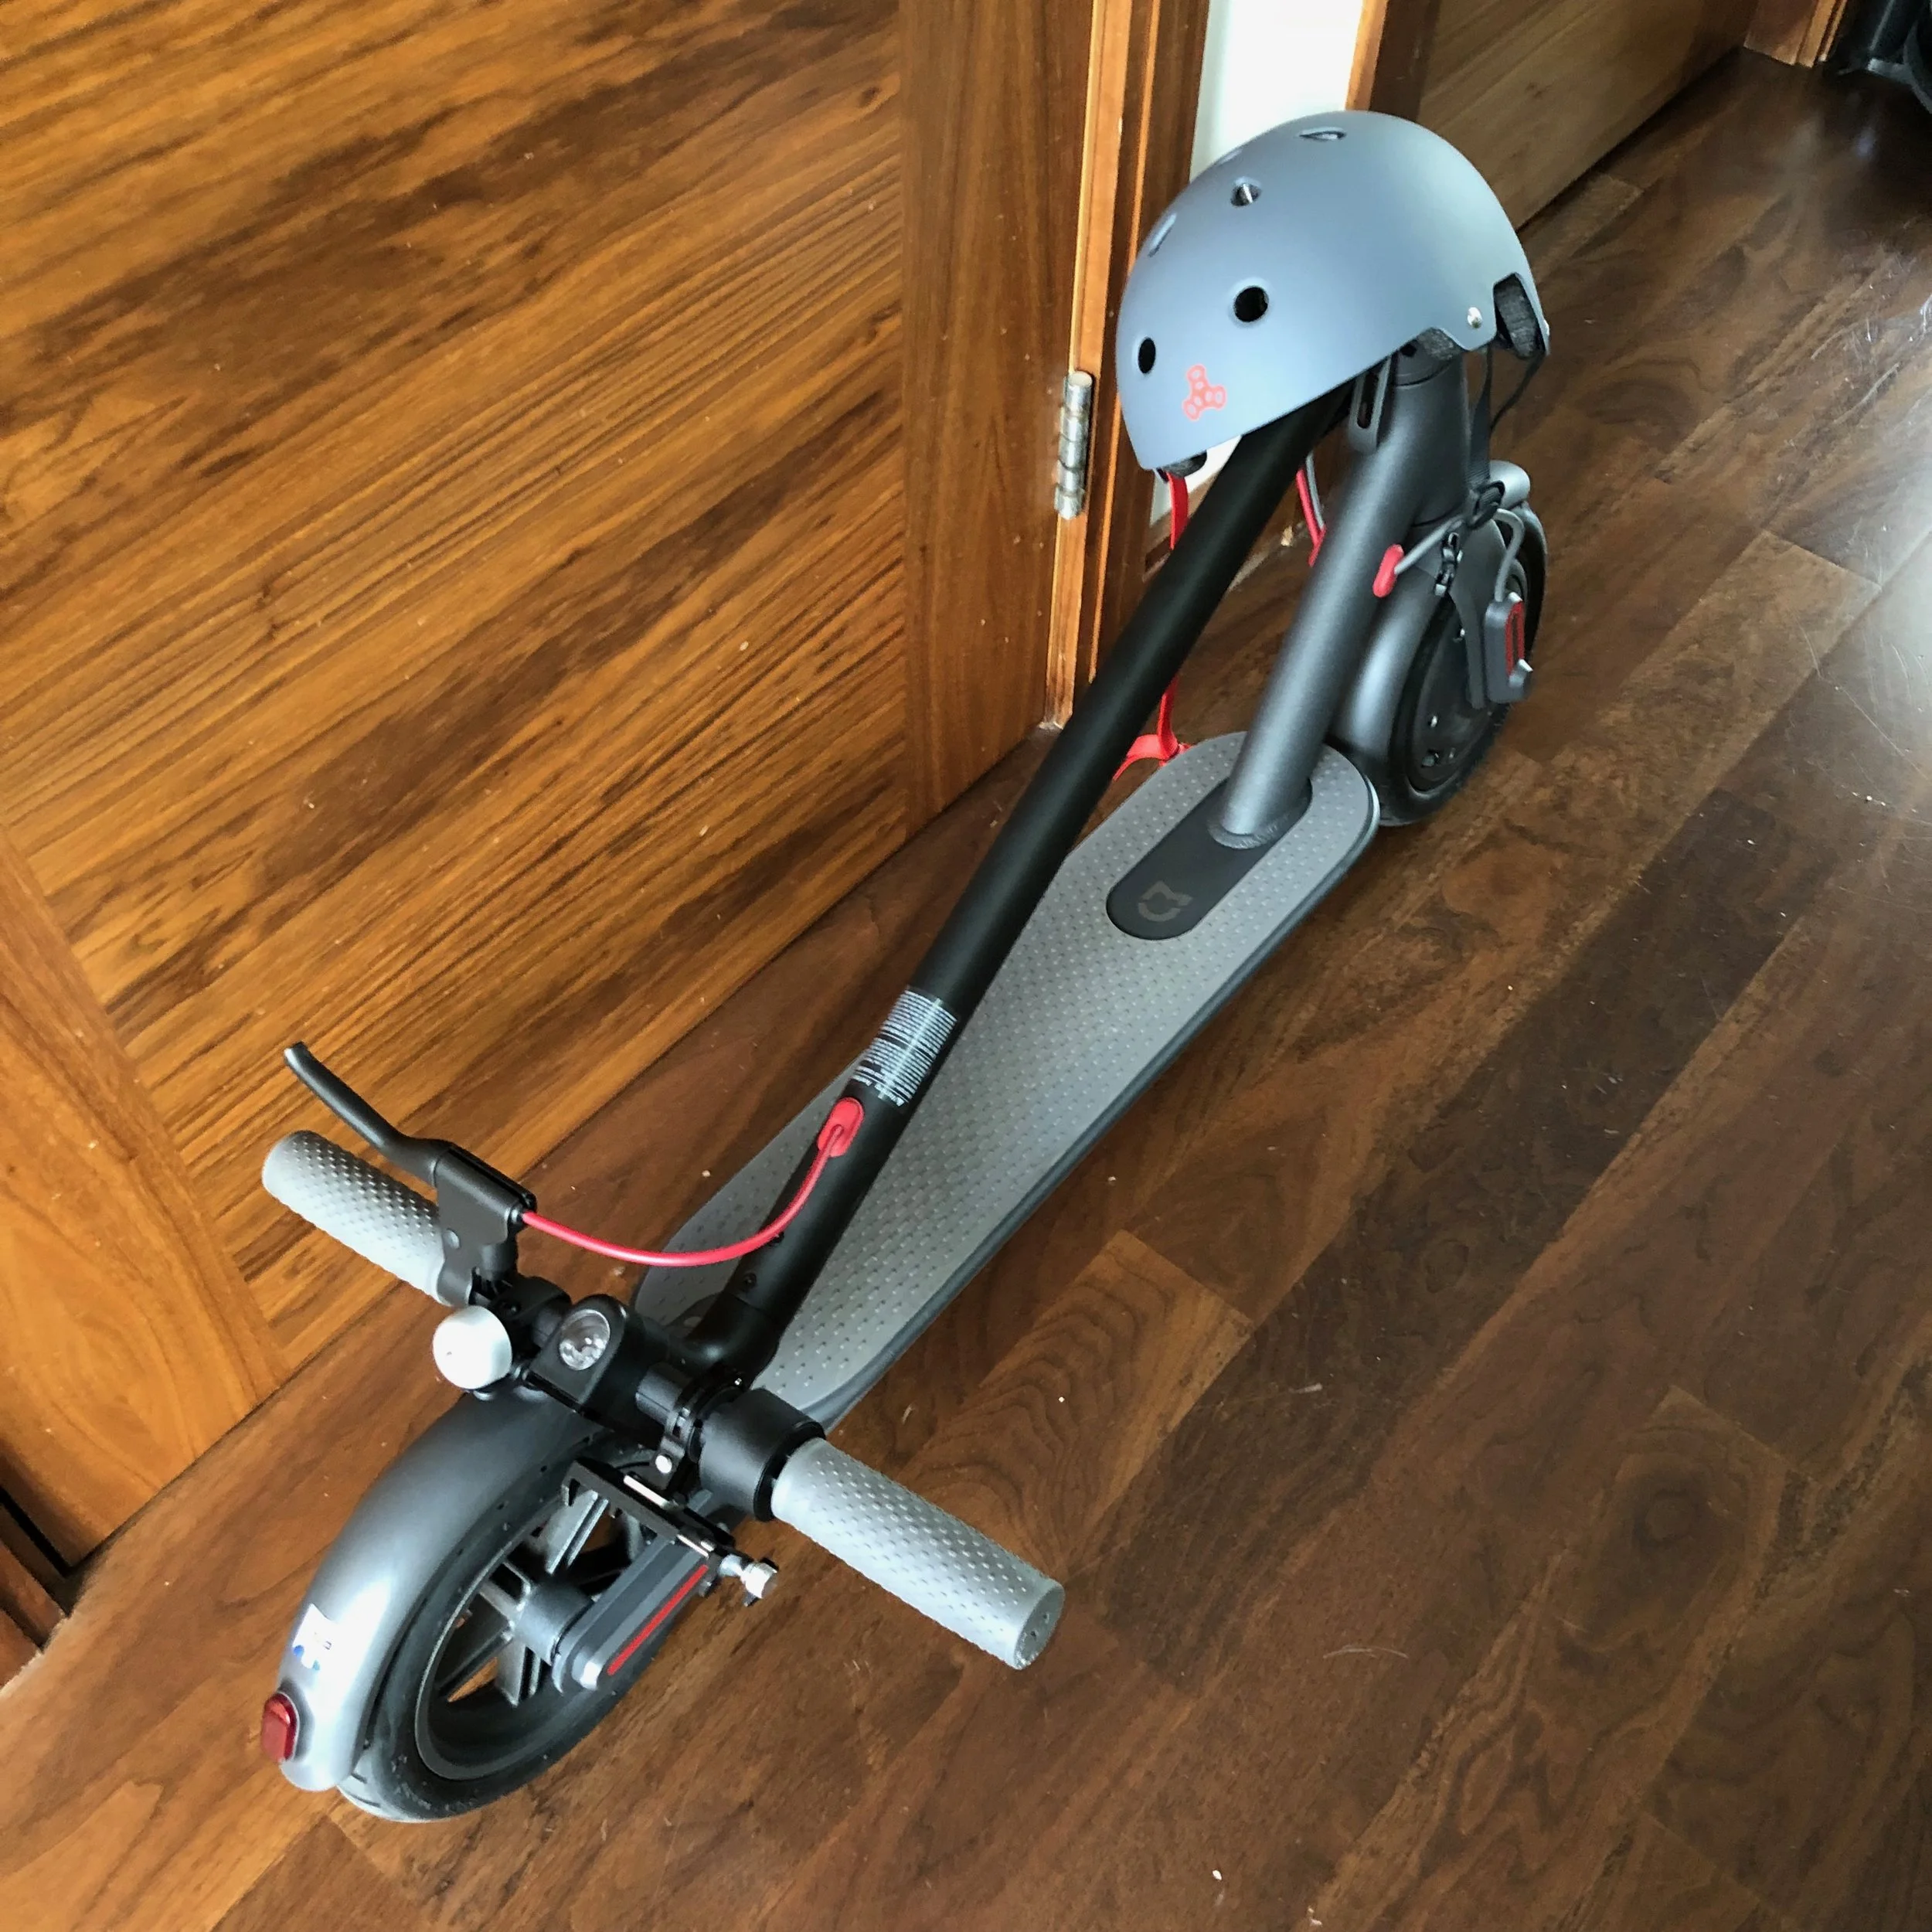
This is part 4 of my intended 5 posts about micromobility, electric scooting and associated issues.
Commuting on my electric scooter has changed. I’ve gone from a 10-12 minute journey on reasonable roads to a 35-40 minute one, on either cycle routes and/or rougher road surfaces, with the mix dependent on time, weather and construction.
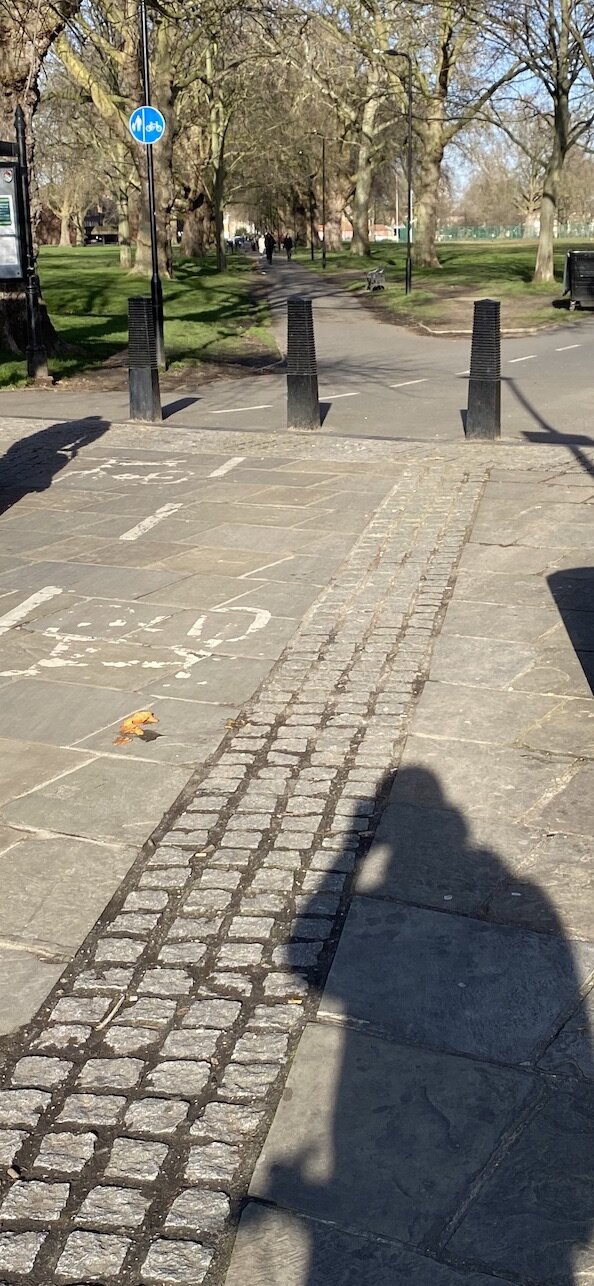
Sadly, the cycle routes are far from consistent, often poorly surfaced, confusingly laid out and feeling very much like a token exercise in providing alternative forms of transport. The effect of this has been a big rise in maintenance and parts for my scooter and the expense that entails. I thought I’d covered most of the maintenance topics in the last post but it’s a good opportunity to talk about the additional potential expense.


Main latch for folding
The steering column is held upright by a latch formed of a fairly solid aluminium block with an adjustable threaded bolt/nut combo to tighten it. The vibration experienced means that I have to tighten it fairly regularly (and also check the hinge bolt as per the last post) in order to have it solid and stop it squeaking horribly while riding.
Recently I was approaching a right turn and braking towards it. When I accelerated again into the corner the latch opened and the column hinged back unexpectedly, fortunately I was at a pretty low speed. Turns out it hadn’t let go, the latching block had snapped. Here’s a picture:

Snapped latch, separate pieces highlighted in orange circles.
At this point there wasn’t much choice other than to fold her up and get the bus to work.
Replacing it was easy enough, here’s the part I bought. Fitting it was only a small fuss, the hard part being getting the old pin, that hinged the top section, out and the new one in and secured. Adjusting the new latch to fit was just some trial and error, though it’s very tight. Additionally the new latch block is much thicker than the original, which makes me feel I am not the first person to experience this.

Replacement latch block, somewhat sturdier than the original.
Retaining clip
The lever that closes the latch is held in place with a round plastic catch that is held closed by a small screw. This screw was the next thing to go, it worked out presumably from vibration, and disappeared. I couldn’t find a replacement in the screws I have kicking around nor could I identify what to buy so I settled for buying a complete replacement clip, hopefully it comes with a screw. Given that so many things seem to be affected by the vibration on my new route, I also bought some thread lock to try to lengthen the effective time of maintenance.
Tyres
I was fortunate, for a long time, to have avoided punctures in the tyres. The few times it’s happened on the rear tyre I’ve stuck with replacing with standard tyres and inner tubes, and using tyre slime sealant to handle small leaks until I needed to replace again. This was a fine strategy until it came to replacing the front tyre for the first time. Try as I might, and I went through three tubes, I couldn’t get a new tube fitted without it picking up a puncture along the way. I came to the conclusion there’s something on the rim that’s caused a burr or splinter that’s puncturing the tube on inflation.
So I chose to go with a solid tyre on the front. I’d resisted this as they’re difficult to fit and I wasn’t sure what grip would be like compared to inflated tyres. However I wasn’t getting anywhere with inner tubes so I bought as good a solid as I could find.

Front solid tyre, note the holes to try to add bounce and the pointed profile.

Side view of the solid front tyre.
Fitting a solid tyre
After searching around for some hints on YouTube and forums, I settled on submerging the solid tyre in boiling water for 20 minutes to soften it before trying to fit it. With a good amount of heat in the rubber it went on surprisingly quickly, (slightly) less effort than a standard tyre.
I took it out for a test run afterwards and a longer run to work the next day and found it to be, well, interesting. First the grip is a bit less, both in traction and in stability, at least until it wore down a bit. The tyre I’d fitted was quite pointed toward the centre so it meant a lot less contact with the road at first. Solid tyres also lack the flexibility of an inflated one to deform slightly and absorb rougher terrain. Truth fully the first few rides were hair-raising, in very wet weather and much more tentative. On the plus side I didn’t come off at all and I was mobile again.
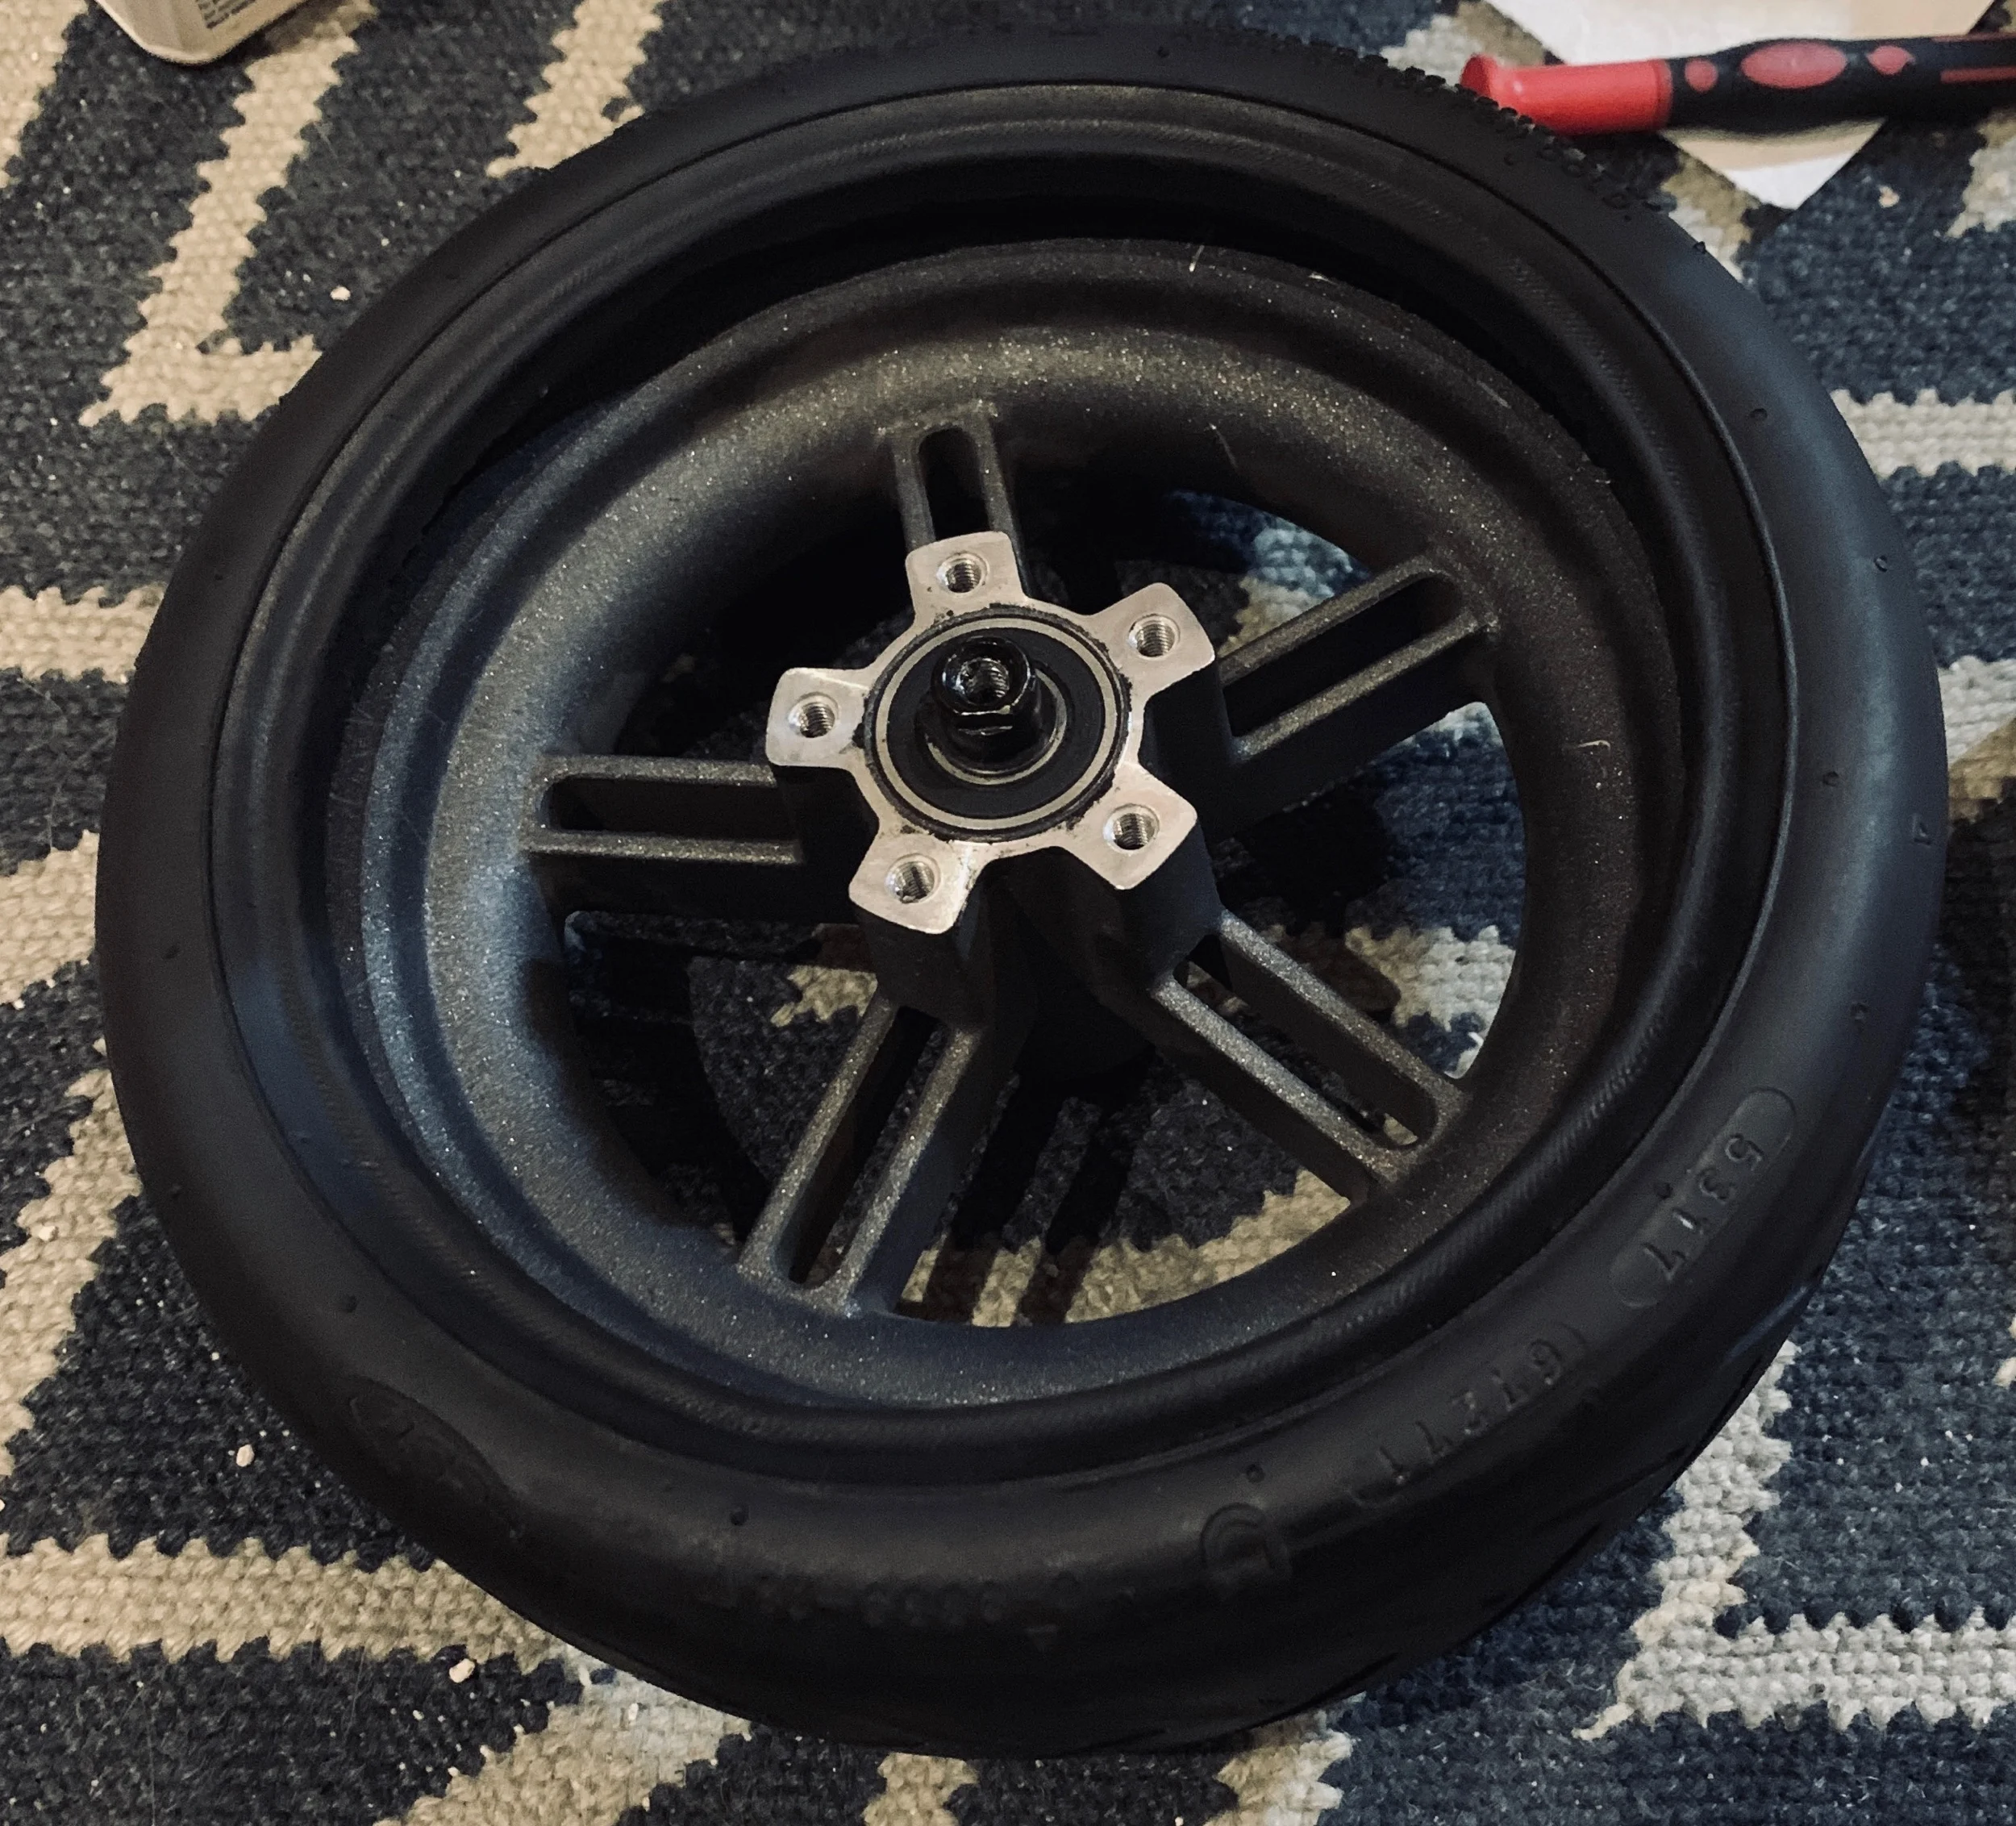
So then the rear tyre got a puncture. Sigh. Having gone solid on the front I decided to try the same on the rear. This time I looked at what other solid tyre options are available and found that there are some with a more subtle tread pattern and that are much flatter by default, giving more contact between tyre and road. Having gotten a bit tired of fitting tyres to small wheels I also found that you can buy a replacement rear wheel with a tyre already fitted from the reliable people at myBestScooter.

Rear solid tyre showing the flatter profile.

Side view of the rear solid tyre.
Running on solid tyres
I mentioned above that the front solid took a bit of getting used to, especially in wet weather. The rear tyre was much more stable feeling with the flatter profile, though they both definitely prefer good, dry weather. In comparison with inflated tyres, though, there are three areas of considerable difference.
First, it’s a lot bumpier. I’ve almost considered going back to the road rather than the cycle routes. I’m used to it now but it’s definitely contributed to the level of vibration-caused maintenance and repairs.
Secondly, and this isn’t totally confirmed, but it feels like it’s much harder on the battery again particularly in the wet. I don’t know if this is the lower grip/less flexibility/rougher ride. It’s possible it’s just my scooter feeling its age a bit after 18 months solid use over 3000+ kilometres distance. I’m not going to re-fit standard tyres to find out and I guess until the battery fully dies or something else causes me to need to replace it I won’t have a good baseline to judge from. However I used to be able to just get to work and back on a single charge, on my new route. Now I am down to 10 or 20% charge on just one way. Another possible cause is the cold and wet though so we’ll see what warmer weather brings.
Either way it meant I thought it best to spring for another charger so I could have one at work and one at home. Oh, and all that on-again-off-again with the wheels meant the stickers that cover the screws on the wheel housings needed replacing.
Lastly, and again this might have multiple or alternative causes, the top speed is way down. I used to get 25km/h reliably, only dropping to 20/21km/h on steeper hills. Currently I get 22km/h at most and it feels dragger to accelerate. This could be the affect of the solid tyres (I’ve heard anecdotal stories about this), it could be the battery declining and not accepting/delivering as much power, it’s still cold out so maybe that is affecting it. Perhaps a combination.
Rear mudguard x 3
The M365 has a red light on the rear mudguard. I don’t remember the last time mine worked. The cable runs along the inside of the guard and rubs on the tyre, the connection breakpoint is screwed to the chassis to stop it fouling on the wheel so if the mudguard snaps off due to vibration then the connector breaks too. Safe to say it’s a design afterthought. One of the most common aftermarket parts is a bracket to secure the rear of the rear mudguard to the rest of the scooter to stop it breaking quite so much. It performs that task really well, what it doesn't help with is getting the rear light refitted so I have given up on the light* and bought a clip on light for my rucksack.

The only mounting point for there mudguard provided as standard. The length of the mudguard means this joint comes under a lot of stress and the stiff plastic is prone to cracking.

Aftermarket plastic bracket added to give better support to the mudguard, note the cable tie holding it on in place of the (broken) rear light, the screws provided weren’t anywhere near strong enough.
* I’ve only given up on the light until I can solder a replacement scooter-side connector cable to use with the mudguard-side cable and light that came with the mudguard. I don’t have a soldering iron at the moment so this will wait for now.