Reviving Apple Pro Speakers
The myth of planned obsolescence
I’ve had a pair of Apple Pro speakers in a drawer for a year or so. Many years ago they were mine and, in the course of a transition period from a relationship back then, they passed to other hands. More recently that person was cleaning house and asked if I’d like them back. In the interim they have been loved and used extensively.
I’m a big fan of getting as much use out of a piece of technology as I can. I find that with many Apple products this is not only possible but simple. In opposition to the narrative often seen in the media, I have never felt that there’s planned obsolescence from Apple. The very first iPod (2001) still syncs in the latest version of macOS, my iPod hi-fi (2005) is available in HomeKit on AirPlay 2 via the AirPort Express (2012) which got a recent software update to support that.
The speakers work but their condition was not great, so I put them in that drawer to think about later.
A small historical diversion…
What are Apple Pro speakers? They are a pair of speakers encased in transparent, plastic spheres. They have an odd connector and an interesting history.
Back in 1999, Apple released a revision of the iMac, among the changes made (slot-loading optical drive, FireWire etc…) was an update to the front facing speakers contained in the body under the screen. They were changed to use new Harmon Kardon digital speakers called Odyssey.
The next time these Odyssey speakers appeared was in August 2000, when the PowerMac G4 Cube was released. This machine shipped with a larger pair of the Odysseys mounted in transparent sphere’s. They connected (and I will admit to not knowing exactly how) to a small, external amplifier which connected either the Cube itself or the matching Studio Display model for connectivity and power. This amplifier needs 10w of power, higher than the standard output from USB, so the ports on the cube and display are rated to provide this additional power. The speakers weren’t given a product name of their own as they came with the Cube.
The next year, in 2001, Apple released new PowerMac G4 models supporting digital audio, via a new port consisting of a customised mini-jack socket. This socket could be used to connect an optional pair of speakers, the Apple Pro speakers. Behind the socket, on the logic board of the Mac sits the same amplifier unit which was once external on the Cube.
These speakers were able to be purchased separately for $69.
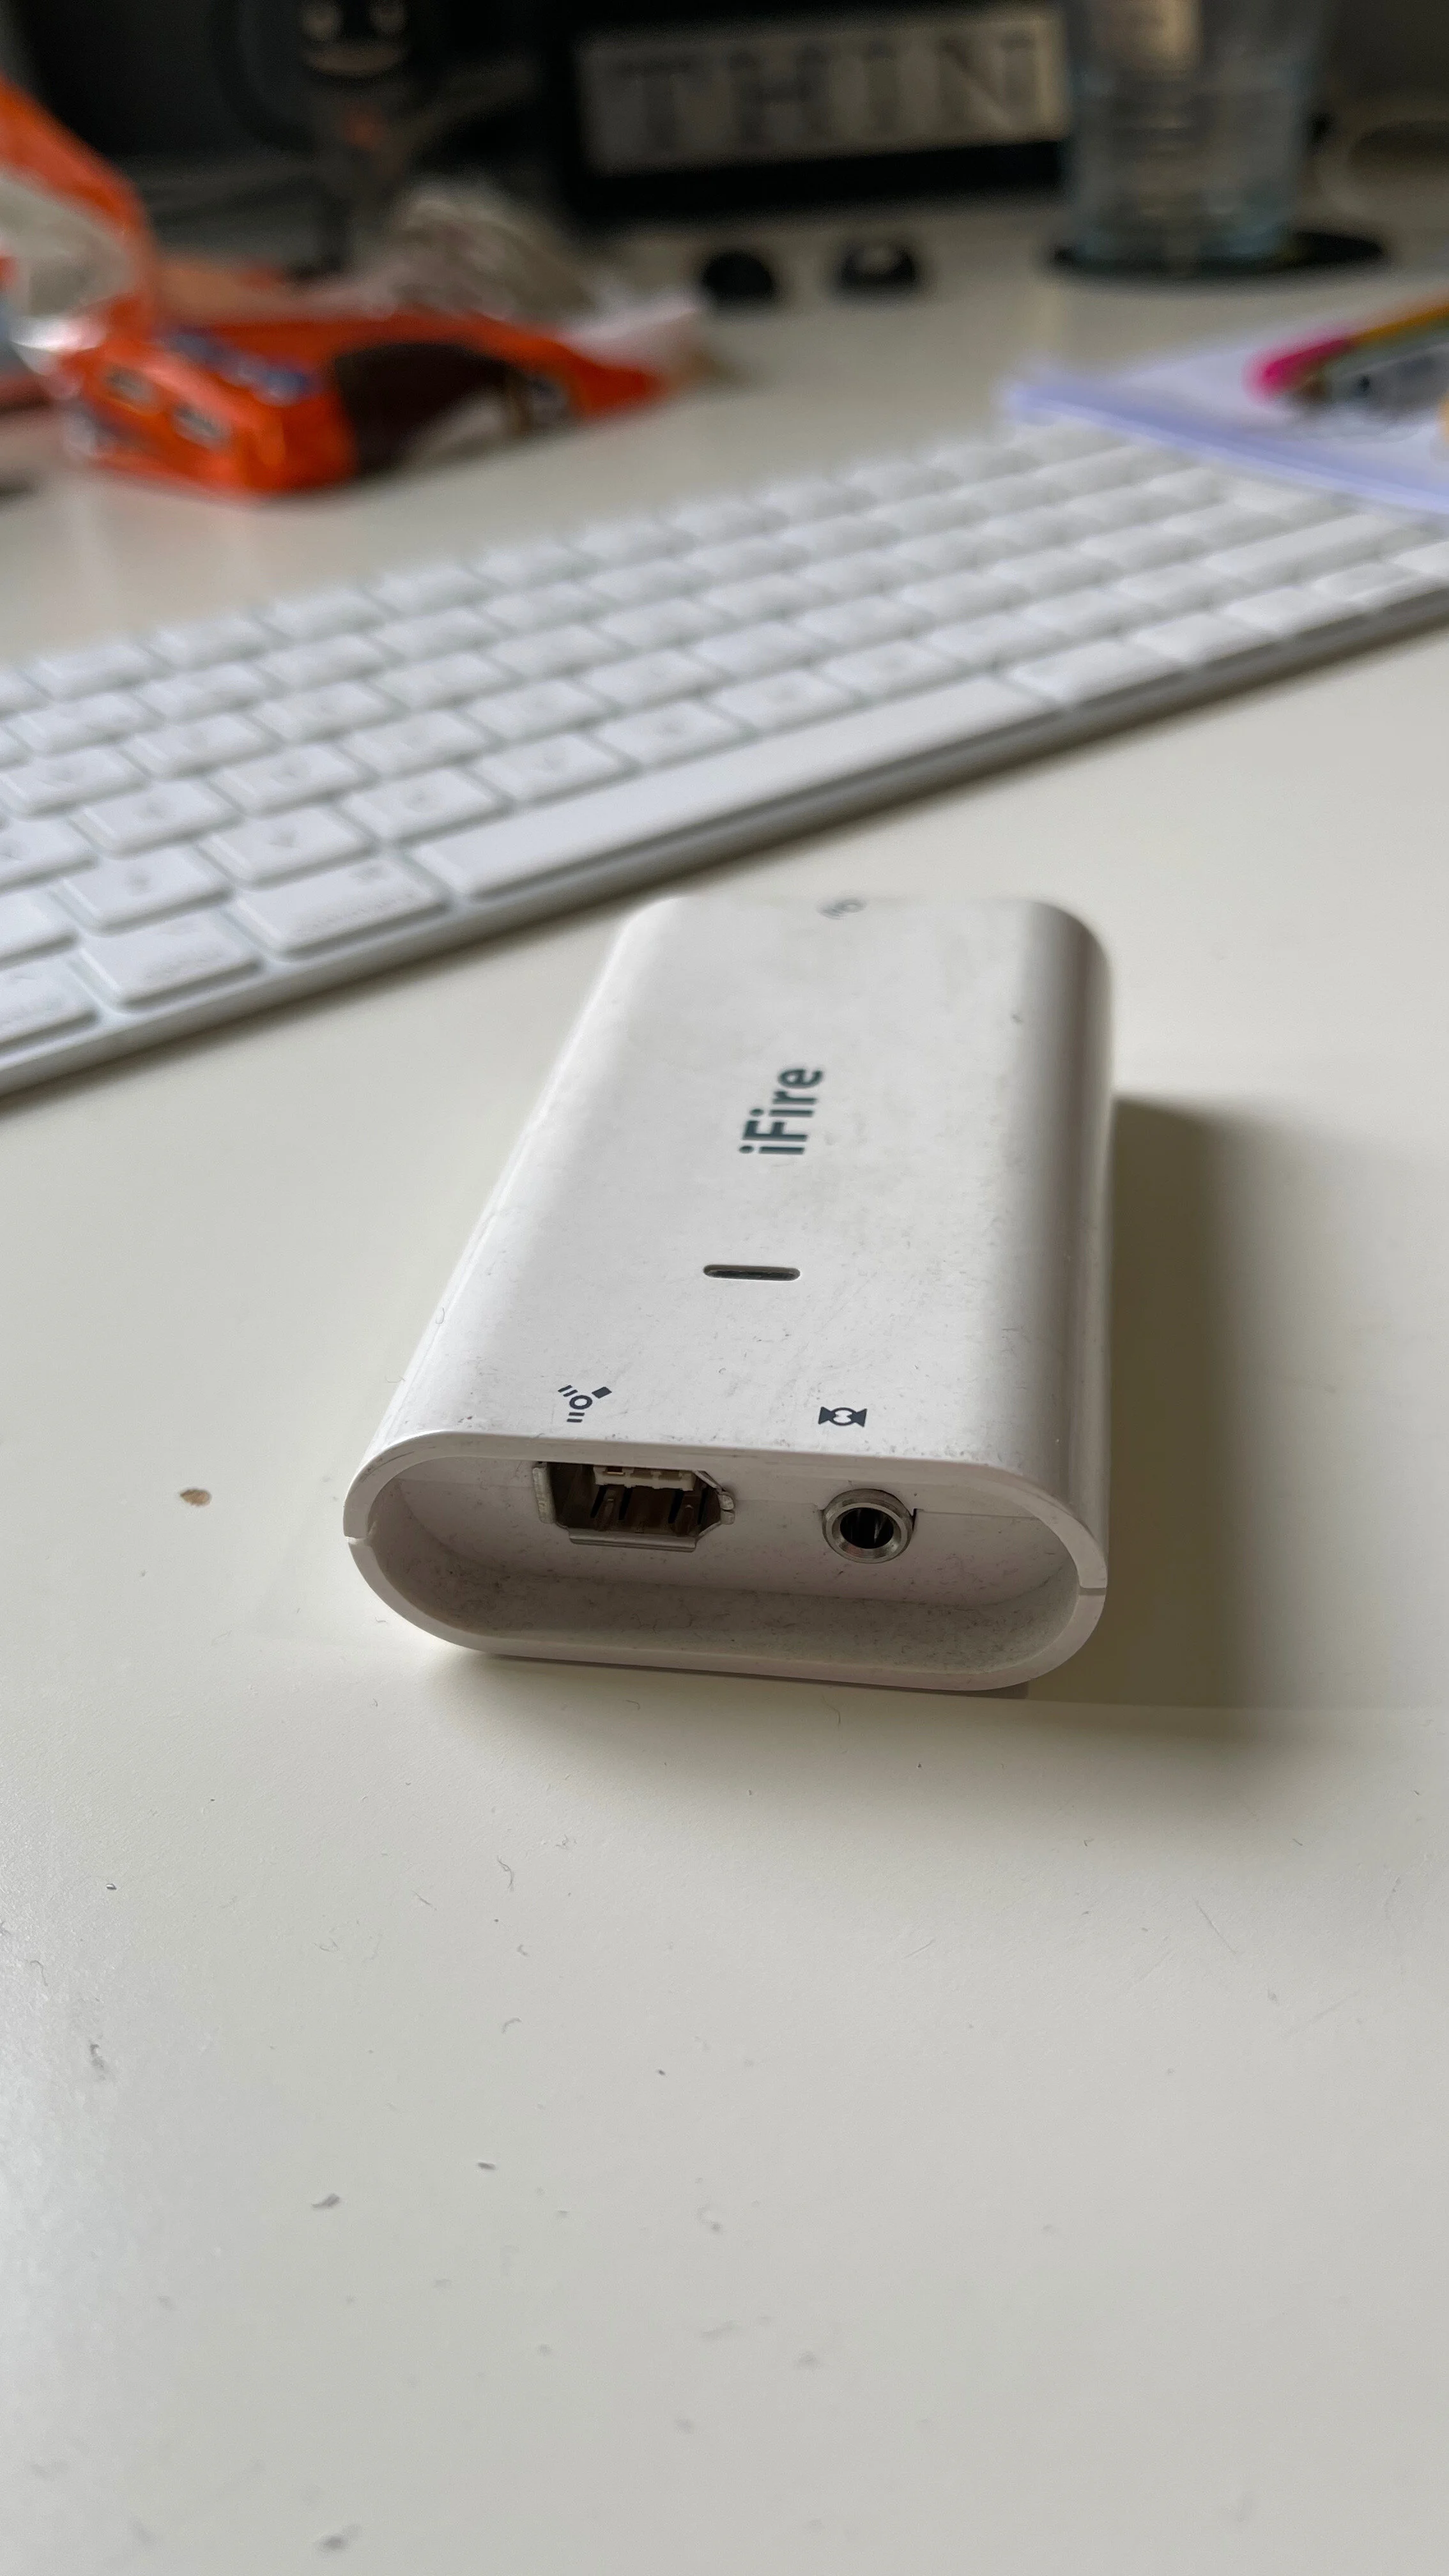
Now, because of the non-standard connector and the lack of amplifier in the speakers themselves, these could only be used by supporting Mac models. This left a gap which 3rd party accessory builders were quick to fill, one example of this is the Griffin iFire adapter. This is a box with a socket on one end for the custom speaker connector minijack and on the other end has a FireWire 400 and standard 3.5mm jack connector. In between these ends is an amplifier to mimic the one on the logic board of the PowerMac G4 DA and the external box of the Cube. Because USB doesn't guarantee it can provide the required power on any other machine, FireWire was used as it does meet the power delivery spec. They fetch quite a price on eBay now…
I do not know exactly which ‘Apple Pro’ speakers I have, the ones from the Cube or the separate ones released with the PowerMac G4. As I mentioned I don’t know the connector on the Cube version (though I suspect it’s the same custom minijack as the later version). I do know that the Cube version had black fabric cones around the speaker and that the PowerMac had white rubberised cones. Since mine have the black cones I believe they are the older version.
This is right time to mention the cones material as it forms the bulk of the problem with these speakers.
Something something something Entropy…
The speaker cones on mine are not in a good state of repair. They are very possibly 21 years old now and, as I said before, have been well used over time. As you can see they are literally falling apart and that’s why the sound quality is poor.

Perishing fabric cones
In addition the clear plastic orbs have yellowed somewhat from exposure to sunlight and there a general layer of dust and dirt on the cables and connectors. The iFire adapter is a bit grubby too.


Reddit saves the day
They probably would have stayed in a drawer, slowly falling apart over time if I had not happened upon a post on reddit by u/Jellepetje.
The post contained a link to a Hifi parts and repair store in Holland, who sell appropriately sized replacement cones, in black, using the better rubberised material. I was inspired to bring these back to useful status and ordered the new cones and also the appropriate glue for bonding them.
Takeapart
Each speaker is constructed of a hollow sphere with a flat face in the shape of a circle which contains a hole that the speaker mechanism sits in. A cable feeds out of a small hole on the opposite side of the speaker hole and a another smaller flat face, at an angle to the speaker face allows it to sit flat on a surface. Refer to the pics if this is confusing.

They also come with an optional perforated protective plate (PPP?) that completes the sphere shape.

The first step is to remove the plastic cover on each. Then unscrew the 3 small screws holding the speaker into the sphere. This was the first challenge; they are aluminium screws so the chances you’ll massacre the crosshead slot is high. It happened to me and I had to use pliers to gently unscrew it. Luckily a space screw from an aluminium PowerBook was the right size to replace it :).
Once it’s free, you can VERY gently lift it out, taking care not to pull too hard or damage the solder joints from the cable to the speaker body. If you can get your fingers inside the sphere it’s possible to pull the cable through the grommet at the rear to give extra slack. Alternatively you could de-solder (un-solder?) the connections.
Inside the speaker over the cone is a thin ring that’s glued to the cone material, that lifts out with care. I used a pair of fine tweezers and a scalpel to remove the old fabric cone including as much as I could from the outer surface of the speaker and the underside of the silver centre disc of the speaker. The body of the cone was reasonably easy to remove, but the parts where it’s glued to the speaker and the centre disc are sticky, gross and get everywhere. Once I’d removed as much as I could with tweezers, I used nail polish remover and cotton buds to clean it up. Then I was just left with the residue of the glue used to fasten the old cone, see below…

Gross.
The only way to effectively remove the glue from the inner flange of the speaker housing and the underside of the centre disc was to slowly and carefully scrape it away. You can see the existing marks on the paint of the speaker housing, I definitely added more during the process of removing the glue, as careful as I was.
Replacement
The replacement cones are slightly rubberised, which makes them reasonable easy to fit. They are shaped with an outer flat ring which glues down onto the speaker flange, and inner flat ring which glues up onto the underside of the centre disc and a raised centre ring which is what flexes as the speaker moves in playback.
I first eased the new cone ring over the central silver disc, gently stretching it to fit over it. Once done the cone sits under the silver disk and over the flange of the speaker. The glue that came with the cones turned out to be pretty standard white PVA glue in a pot with a little brush. I applied glue to the top of the cone on the inner side and the bottom of the cone on the outer ring and pressed the centre disc down very gently to push everything together until it had set enough to hold. In practice the distances involved are super small so it’s not too hard to do. I then cleaned up excess PVA from the cone, centre disk and speaker housing. Then I set them aside for 24 hours to set.

New cone glued in place.
Testing
This morning I reassembled the speakers into the spheres and connected up the iFire adapter to the speakers on one end and my work MacBook Pro with a 3.5mm male-to-male cable. To provide power to the iFire I pressed an old (and relatively hard to find) iPod Gen 1 mains charger and an Apple FW400 to 400 cable.
The sound is great! Way better than the internal speakers on the laptop or on the Lenovo ThinkVision display I’m using. I’ve set the speakers apart by about a metre (a yard for the imperial among you) to give the widest sound space I could.

I’m really happy I took the opportunity to bring these beautiful speakers back from the brink. It was a bit nerve-wracking removing the old cone and gluing in the new one, without damaging the existing speaker and without messing it up but it turned out be simpler than I feared. For the approx. £10 it cost me for the cones, glue and postage it’s well worth it.
If you remember these speakers from back in the last century sometime, I hope you enjoyed seeing them back in action :)